
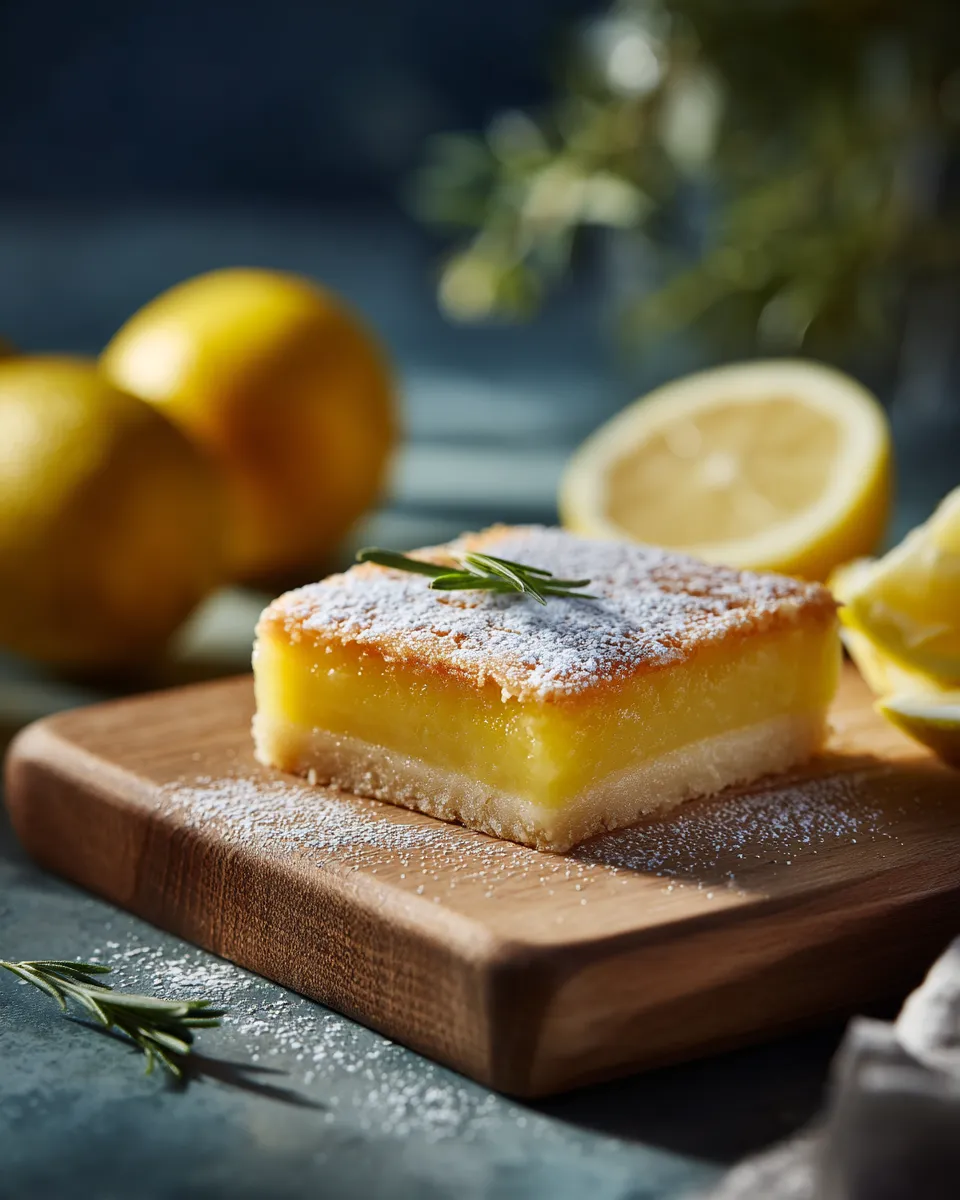
Bright Start, Lemon Glow: A Sunshiny Moment with Meyer Lemons
Every bite of Meyer lemon bars feels like a sunny afternoon in a bite-sized square. The lemons themselves are sweeter, with hints of tangerine and blossom that dance on the tongue. I stash a bag of them in the fridge whenever the season rolls around, because they make desserts feel like a little celebration.
When I tested this recipe, the crust came together in a whisper, and the filling set into a glossy, lemon-custardy glow. It’s not overly tart—just bright enough to wake you up and pair beautifully with a cup of tea or sparkling wine on a summer evening. Pinterest-ready, yes, but also genuinely easy to bake and share with friends.
Ingredients
- 1 1/2 cups all-purpose flour
Note: Provides the tender, crumbly base. For a gluten-free crust, use a 1:1 GF flour blend plus 1/2 teaspoon xanthan gum. - 1/4 cup granulated sugar
Note: Sweetness that balances the lemon. You can shave a tablespoon if your Meyer lemons are extra sweet. - 1/4 teaspoon salt
Note: Brightens flavor; tweak if using salted butter. - 1/2 cup unsalted butter, cold and cubed
Note: Keeps the crust flaky and tender; don’t melt it. - 3 large eggs
Note: Bind and enrich the filling; bring to room temperature for smoother whisking. - 1 cup granulated sugar
Note: The main sweetener for the lemon filling; Meyer lemons are sweeter, but you’ll still want this balance. - 2 tablespoons all-purpose flour
Note: Helps the filling set nicely; if you skip it, the bars may be a bit wobbly. - 2/3 cup fresh Meyer lemon juice
Note: The star of the show. If you’re using regular lemons, you may aim for 1/2 cup juice and add a touch more zest. - 1 tablespoon finely grated Meyer lemon zest
Note: Don’t skip the zest—it wakes up the lemon flavor in every bite. - 1/4 teaspoon salt
Note: A touch of salt makes the lemon shine even more. - Powdered sugar, for dusting
Note: Optional finish for a pretty, scoopable presentation. - Parchment paper, for lining the pan
Note: Makes it easy to lift bars out cleanly for neat slices.
Instructions
- Preheat the oven to 350°F (175°C). Line an 8×8-inch square pan with parchment, letting the parchment overhang for easy removal.
- Make the crust: In a medium bowl, whisk together 1 1/2 cups flour, 1/4 cup sugar, and 1/4 tsp salt. Add the cold, cubed butter and mix with a pastry blender or fingers until the mixture resembles coarse crumbs with some pea-sized pieces.
- Press the crust mixture evenly into the prepared pan. Bake 18–20 minutes, until the edges are just starting to turn a pale gold. Remove from the oven and set aside while you mix the filling.
- Prepare the filling: In a large bowl, whisk together eggs, 1 cup sugar, 2 tablespoons flour, lemon juice, zest, and 1/4 tsp salt until smooth and fully combined.
- Pour the filling over the hot crust. Return the pan to the oven and bake 20–25 minutes, or until the center is just set and a gentle jiggle yields a barely wobbly surface. The edges will be lightly puffed and lightly golden.
- Cool completely on a wire rack, then refrigerate for at least 1 hour to ensure clean cuts. Dust with powdered sugar just before slicing.
- Cut into bars and serve. These keep well in an airtight container in the fridge for up to 5 days; they’re especially nice chilled straight from the fridge.
Tips & Variations
- Gluten-free crust option: Use a 1:1 gluten-free flour blend with an extra 1/2 teaspoon xanthan gum. You may also add 1–2 tablespoons finely ground almonds for texture.
- Flavor boosters: Increase lemon zest to 2 tablespoons for a brighter, lemon-forward bar. Add a pinch of天然 vanilla extract for warmth.
- Poppy seed twist: Stir 1 tablespoon poppy seeds into the crust for a subtle crunch and pretty speckles in photos.
- Make-ahead strategy: Bake the crust up to 1 day ahead and store it tightly covered. Mix the filling the day you plan to bake, then bake as directed for fresh-bars enthusiasm.
- Dairy-free note: Substitute the butter with a solid dairy-free butter substitute in the crust. The filling remains egg-based, so taste and texture will shift slightly.
- Make it a tangy-yet-still-sweet balance: If your Meyer lemons are particularly sweet, you can dial back the sugar in the filling by 1–2 tablespoons, tasting as you go before baking.
- How to store and reheat: Keep bars in the fridge. Reheat individual bars in 10–15 seconds in the microwave for a warm lemon glow, or enjoy cold straight from the fridge.
Serving Suggestions
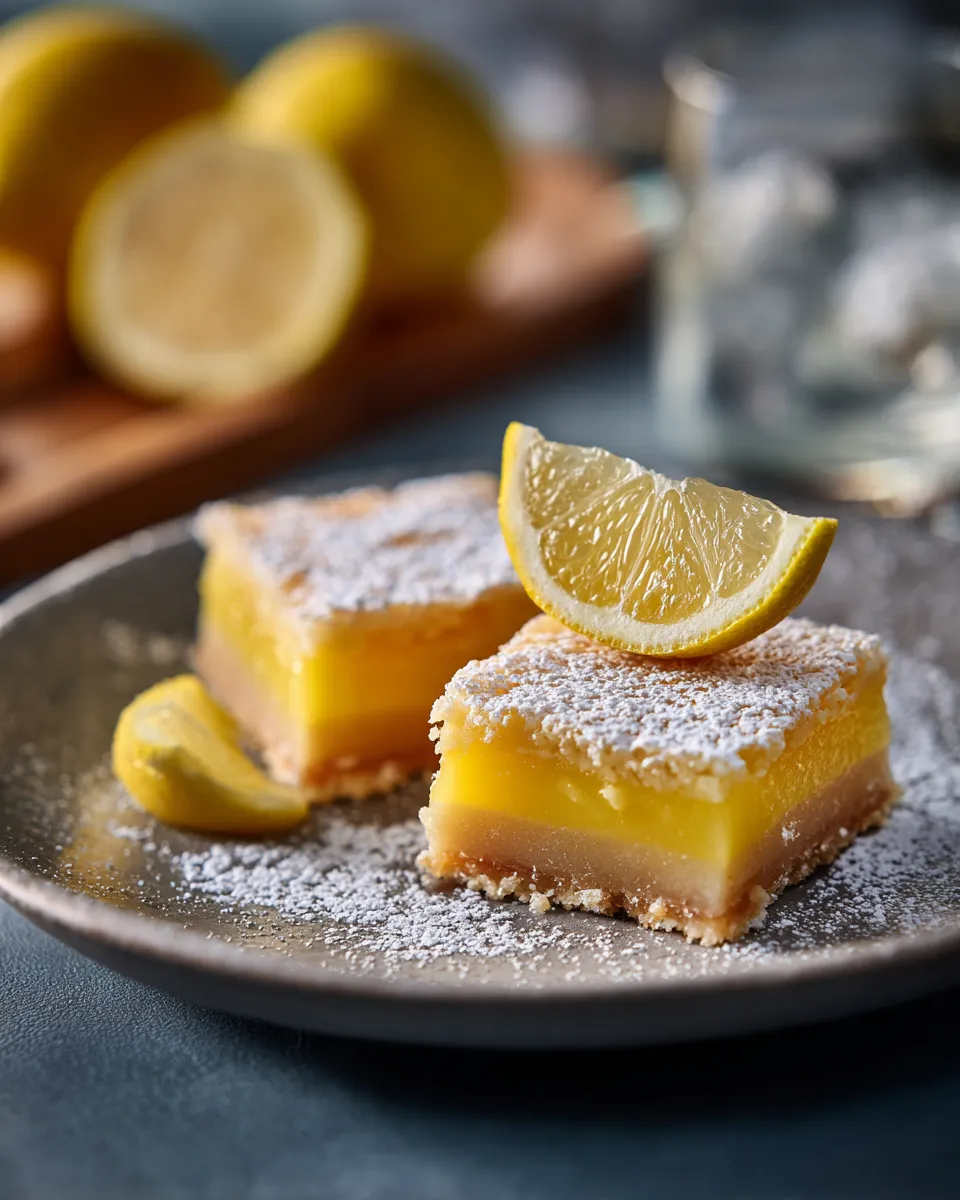
Pairing these bright bars with a simple green salad dressed in a lemony vinaigrette makes for a surprisingly refreshing dessert-salad duo. Garnish plates with extra lemon zest and a few fresh berries for a pop of color that looks as good as it tastes.
Platter them on a cool slate or white ceramic to highlight their sunshine hue. A dollop of softly whipped cream or a spoonful of vanilla bean yogurt adds a creamy contrast that feels indulgent without being heavy.
Make it a light dessert trio by serving with a handful of almond biscotti or citrus shortbread. For a weekend brunch, tuck a couple of bars into a little dessert board with yogurt cups and fresh fruit.
FAQs
Can I make Meyer Lemon Bars ahead of time?
Yes. The crust can be baked and cooled up to 1 day ahead. The filling can be mixed in advance and kept covered in the fridge for up to 24 hours; assemble and bake just before serving for the best texture and brightness.
Can I freeze Meyer Lemon Bars?
Yes, they freeze well. After they are fully cooled and cut into squares, wrap each bar individually or store in an airtight container. Freeze for up to 2–3 months. Thaw in the fridge or at room temperature before serving. If desired, dust with powdered sugar after thawing for a fresh look.
What if my filling is too runny or crackly?
If the center seems too wobbly, bake a few minutes longer, watching for a gentle jiggle. If the surface cracks, don’t worry—dusting with powdered sugar will hide minor fissures, and refrigerating the bars helps set any slight cracking in the filling.
Can I use regular lemons instead of Meyer lemons?
Absolutely. Meyer lemons are sweeter and more floral, but regular lemons work well too. You may need a touch more sugar to balance the tartness and a bit less zest if the lemons are very bright. Fresh zest still brightens the flavor beautifully.
Is there a gluten-free option for the crust?
Yes. Use a 1:1 gluten-free flour blend with an extra 1/2 teaspoon xanthan gum. You may also add 1–2 tablespoons finely ground almonds for texture. The crust will be a bit crumblier than with all-purpose flour, but still delicious.
How can I keep the filling silky and not grainy?
Whisk the filling thoroughly to fully combine the eggs, sugar, and flour before adding the lemon juice and zest. Use room-temperature eggs and juice for smoother mixing, and avoid over-mixing once the lemon is added, which can incorporate air and affect texture.
Final Thoughts

These Meyer Lemon Bars are a little slice of sunshine you can bake anytime. They strike that perfect balance between creamy lemon filling and a tender, buttery crust, with enough brightness to feel celebratory but not overpowering. They photograph beautifully, travel well for picnics, and come together with a simple, forgiving method that makes you look like a pro in the kitchen. Give them a try, and share the sunny results with someone who could use a little citrus joy in their day.
Print
Irresistible Meyer Lemon Bars Bright Zesty Treats Recipe
- Total Time: 2 hours 15 minutes
- Yield: 16 bars 1x
Description
Discover how to make Meyer Lemon Bars that shine with bright zesty flavoreffortless to bake crowdpleasing and utterly irresistible for lemon lovers
Ingredients
Instructions
- Prep Time: 30 minutes
- Cook Time: 45 minutes
- Category: Dessert
- Cuisine: American
Nutrition
- Calories: 260 kcal
- Sugar: 24 g
- Fat: 14 g
- Carbohydrates: 34 g
- Fiber: 1 g
- Protein: 3 g